Tag Archives: Sacramento Makeup Artist

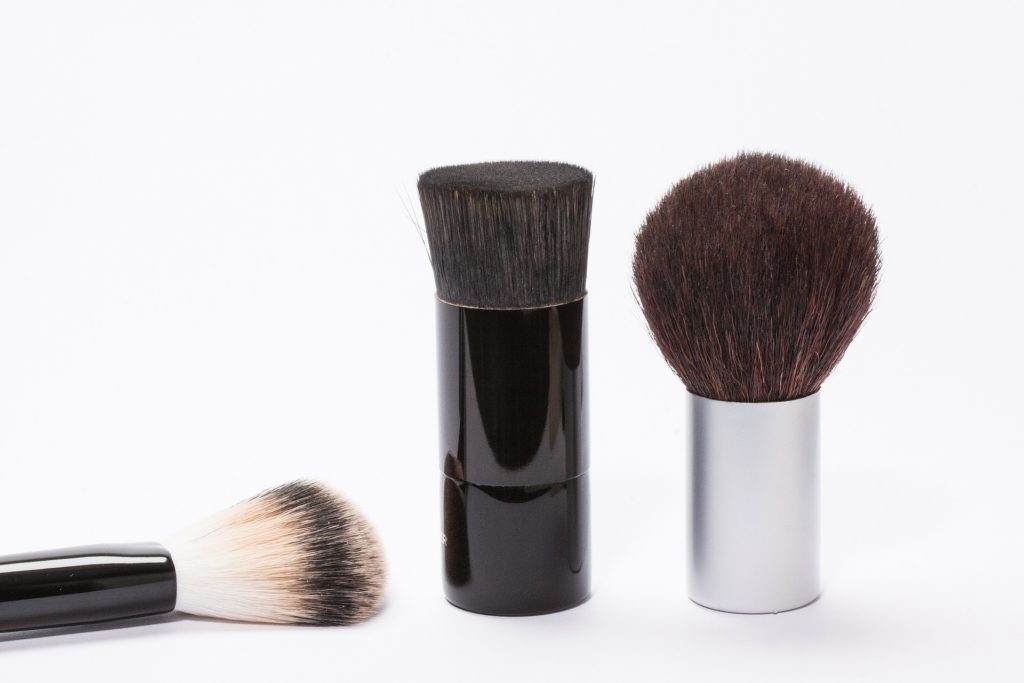
Kabuki Brush Uses

Image by Thanks for your Like • donations welcome from Pixabay

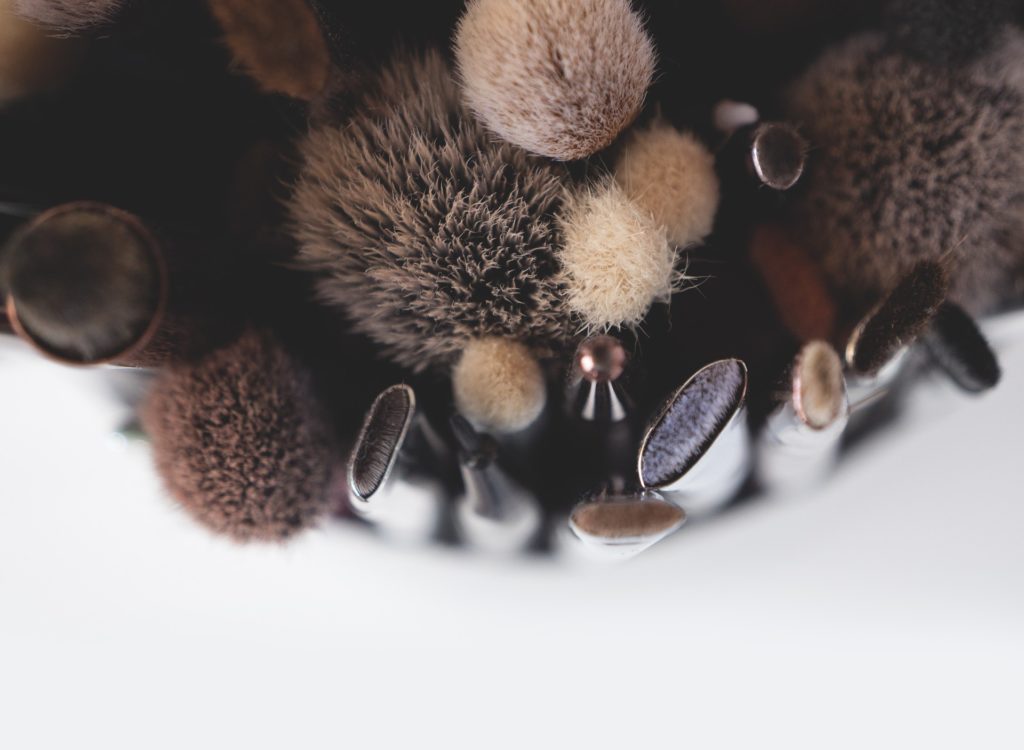
OK, if you’re like me you somehow purchased a Kabuki brush.  Either with a mineral makeup purchase, or just because someone told you it was the next best thing.  You may or may not use it.  If you’re like me you never have and don’t think you ever will.  However before you decide to chuck it or donate it, here’s a fantastic new use for it.  It actually makes owning the damn thing worth it!

It makes one hell of an exfoliant for your face.  It’s true.  It’s almost as good as a Japanese Wash Cloth.  Yes, I said Almost.  Japanese Wash Cloth is still the best, but the Kabuki brush is a good substitute if you haven’t yet purchased your Japanese Wash Cloth.

The Kabuki Brush works as an exfoliant because it’s silky bristles buff away the dead skin without damaging your pores.  It also works as a stimulant, bringing the blood to the surface which will help your skin stay smooth and clear for days.

So, if you have a Kabuki brush just lying there on your vanity, don’t toss it away, use it to give yourself that clean, clear skin you’ve been dying for!

Method Makeup Academy, Sacramento’s Makeup School

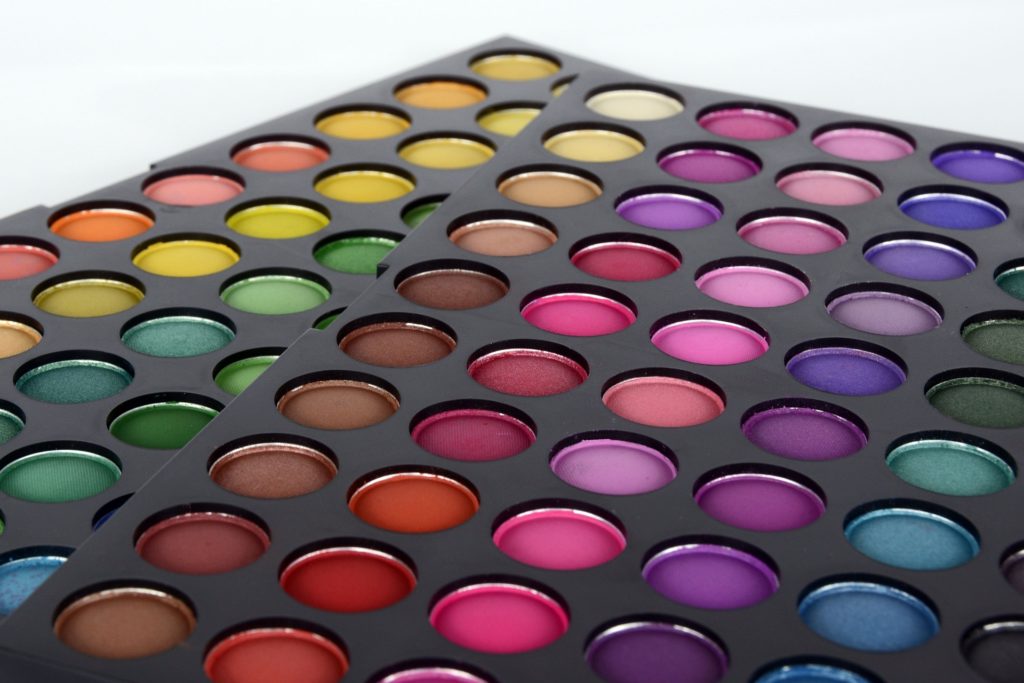
Use those Old Palettes

Image by annca from Pixabay

How to Create Your Own Eye Shadow Palette Recipe:

Before you run out there and buy every color of eye shadow known to man to start your pro makeup kit, take a second look at that box/drawer/case of makeup you haven’t touched in months.  You might just have all the shadows you need to start your kit.

If you find you have bunch of eye shadows you don’t use anymore but haven’t thrown away, you can convert them from a bunch of random containers to professional palette to be used in your kit.  Here’s how you do it:

  1. Remove as much plastic from the shadow as you can, i.e. lids, bottoms, sides, without breaking the shadow
  2. Turn your oven on to 250 degrees.
  3. Put a sheet of foil down on a cookie sheet and spread your shadows across the sheet.
  4. Place in oven for 10 minutes.
  5. After ten minutes, with a hot pad, remove the pan from the oven and with a pair of tweezers see if you can pop the metal pan with the shadow out of the plastic container.  If it won’t remove fairly easily, put back in the oven for a few more minutes.
  6. When they are warmed up to the right temperature the adhesive that secures the metal pan into the container will melt and allow the pans to pop out.
  7. Once you have de-potted the shadows you can place them into empty magnetic palettes and there you go!  A good empty palette to put your shadows into is the Z Palettes.  You can find these on CameraReadyCosmetics.com

Method Makeup Academy, Sacramento’s Makeup School

Alligator Skin Recipe

Image by miniformat65 from Pixabay

Ok, so I thought I had seen every type of skin texture and knew how to handle them all.  Well, so I had thought, and then I came across a face with skin I can only describe as Alligator Skin.  The skin was dry, with almost an eczema type texture across the whole face.  It negated all my usual techniques and I was at a loss.  I had no choice but to call my mentor and ask for help.  I hadn’t encountered it before and I prayed that perhaps she had the remedy.  Thank God, she did!  So even after years of doing makeup, I can still be surprised and need a little help.  So, here’s the recipe for Alligator Skin so you don’t have to be surprised yourself!

1. Preparation H full face

2. Let sit for ten to fifteen minutes

3. Exfoliate and Buff Preparation H off with a Wash Cloth over entire face – You can use a Baby Wipe in a Pinch

4. Spray witch hazel or toners over entire face to close and tighten pores and remove Preparation H Residue

5. Apply moisturizer – let sit 5mins

6. Apply Primer – let sit 5mins

7. Apply liquid foundation with a stippling brush in very light circular motions

8. Do NOT apply any powder

9. Spray entire face with MAC Fix+ Spray

10. Spray with the PPI Blue Marble Selr

Method Makeup Academy, Sacramento’s Makeup School

Step by Step Eye Shadow Looks – The Half/Half Lid

Image by Roberto Rizzo from Pixabay

This look is very nice, it gives lovely variety of color and pattern, it is excellent for bringing light and size to smaller eyes. It’s the perfect pattern to create a sexy smoky eye. This is a must do look for almost anyone.

Look 2 (Half/Half Lid)

  1. Base (Lite color across entire lid & up to eyebrow) * This is Step 1 for EVERY Eyeshadow Look.
  2. Apply Dark Color onto outer half of the lid.
  3. Apply Med/Lite color to inner half of lid.
  4. Blend Med/Lite color slightly into the middle of the lid to soften the line between dark and lite halves.
  5. Blend a medium color into crease and softly up onto brow bone.
  6. Place dark color into crease and blend softly up into the medium color keeping most of it into the deepest part of the crease.
  7. Optional Step – If needed apply Highlight to inner Tear Duct and at Arch of Eyebrow.

Method Makeup Academy, Sacramento’s Makeup School

Make those Brown Eyes Pop!

Image by Giulia Marotta from Pixabay

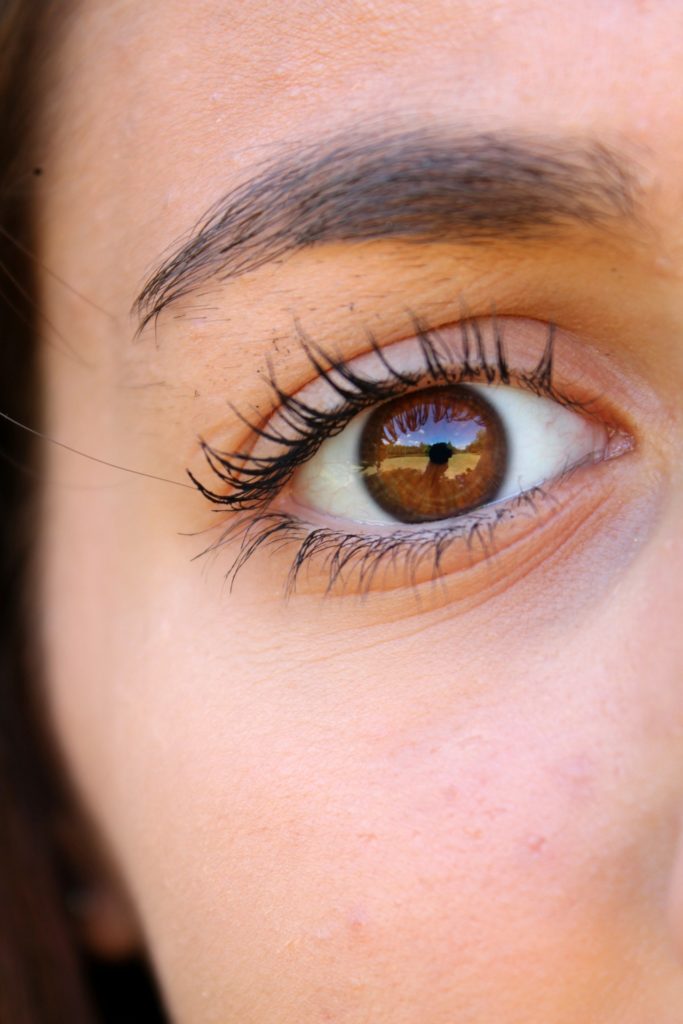
Brown eyes are beautiful, their warmth, their depth.  Now you can make them pop with these simple tips:

Look Deep.  Look at the undertone of the brown in your eyes.  Do they have any flecks of gold or amber in them?  If so, choose copper, gold or rust to bring out that beautiful depth.

Are they a cool, dark brown?  With cool browns use deep plums, dark violets and of course, black is perfect for any color of eye.

Brown eyes are beautiful, so get out there and make them glow!

Method Makeup Academy, Sacramento’s Makeup School

Autumn changes more than leaves

Image by melancholiaphotography from Pixabay

Longer nights, darker shades, the year deepens and becomes more romantic, more mysterious.  The light colors of summer deepen, growing richer as the year comes to it’s close.  Fall Fashion embodies a richer look, a look made famous long ago by the Mod, dark smoky eyes, nude lip and flawless skin.  Colors darken, leaving behind the bright pinks and peaches of the summer lines.  Deep plums, warm browns, cool charcoals and vibrant gold come to life.  Chanel and Dior are advancing new lines where gold reigns supreme.  This year the Modern Mod will reign, her eyes, smoky shades of gray and gold, her lips a soft neutral, her skin smooth and flawless.

Smoky eyes with well blended lines, thick smoked out liner.  Use colors that compliment you, charcoal or black, olive green, plum or chocolate brown.  Highlight your brow bone and lid with a shimmer of VIP-CAT’s White on Gold eye shadow.  Then fill the crease with a dark shade of your choosing and blend well. Blend is your friend, always blending up and out, giving contour and depth. 

The desired look this fall for lashes is an almost fake appearance, thick and lustrous, thick with black mascara.  What better way to achieve that look then by having your lashes professionally extended by a trained professional?  Properly applied Lash Extensions will give your eye that thick lustrous fringe and last through fall and into winter with proper care. 

Your brows should be properly arched an almost ingénue look, a simple almost natural look like Audrey Hepburn, or if you like the dramatic arch, think Marilyn Monroe.  Proper tweezing or waxing can achieve the desired shape. Light blushing on cheeks and easing contouring over flawless foundation and powder can be used for a neutral look.  The original Mod of the 1960’s chose pale skin and lips, her eyes standing out in an almost waif like pale face.  However the modern Mod wants a more neutral look, natural toned skin, so light blush and contouring will achieve this for you.

Your lips should be a shade quite similar to your own natural lip color, something simple and neutral, not quite nude, but not made up.  However, if you desire color, the simple red lip is a lifetime classic and will turn an easy day look into a dramatic evening look. 

Long live the modern Mod, her of the smoky eye and thick lash. The Modern Mod, the Diva rules the night and by day the Sweet Romantic is the queen.  Her sexy faceskin glows, flawless, her cheeks flushed, her lips rosy like they’ve just been kissed.  This flawless romantic look starts with smooth foundation, pressed powder and light, rosy blush on cheeks.  Her eyes are contoured softly with a neutral golden brown in the crease, blended out to give depth and warmth.  A soft shimmer of White on Gold on the lid and brown bone gives a warm glow to her eyes.  A little White on Gold along the top of the cheek bone and down the bridge of the nose will add a nice sparkle to your skin and is a wonderful highlighter for the contour process as well.

Lashes are natural, brows nicely arched to frame the eyes.  The lips are a brighter shade of your own natural lip tone, a color that inspires that full lipped, just kissed look, and for added plumping a dab of White on Gold in the very center of the bottom lip will do nicely. By day a glowing, soft romantic, by night a Modern Diva.  You can be all these things with the right makeup.

Method Makeup Academy, Sacramento’s Makeup School

Tattoo Coverage

When concealing a tattoo with makeup, it is absolutely crucial to get the right color for your skin. You may need to mix several colors together to get the perfect match. Some makeup actually darkens a bit when it dries, so test the makeup colors wet and dry. The area that you are going to conceal should be clean, dry and free of hair. I use a foundation brush to apply the makeup and blend with my fingers. Apply the makeup over the tattoo and slightly over the edges of the tattoo. Use your fingers or a sponge to blend and feather the edges so they look more natural. You may find that the first coat doesn’t cover the tattoo. You may need to use two or three coats to get the coverage you want.

It is very important to apply thin coats rather than thick ones, and let each coat dry completely before applying the next one. I have found because of the composition of most tattoo cover-up makeup choices out there, drying takes awhile so be patient. After you’re happy with the finished product, you need to set the makeup so that it doesn’t rub off easily. You can use a translucent setting powder made for body makeup, or try a barrier spray like the one made by Mehron.

No makeup is completely transfer proof. You may find that the makeup does rub off onto your clothes. And it may not stay put in chlorinated water for long periods of time. That does not mean that it is not long wearing — it is. You should get hours of coverage after an application of body makeup. When you’re ready to remove your tattoo cover-up makeup, use a good makeup remover designed for taking off body makeup.

Even those of us who love our body art occasionally need or want to cover it up, whether for work purposes, a formal function, or a visit to family who might not approve. If clothing won’t meet your cover-up needs, then it’s time to learn how to artfully apply makeup to disguise your ink.

The Right Product

“Street” foundations and concealers will work to hide under eye circles and small blemishes, but they won’t provide the full and lasting coverage of a specialty product. There are numerous heavy-duty concealers on the market, such as Dermablend or Ben Nye Concealer Palette; these are the same products that TV and film makeup artists use to cover an actor’s tattoos and other permanent marks (such as scars or veins).

Look for a product that is completely opaque, heavy, and creamy, not one of the “liquid-to-powder” foundations. Any product with the phrases “sheer” or “light” in the description will not do the trick for this cover-up job! Most tattoos use a blue-based ink, so a yellow concealer will help to counteract the blue tones. Also, make sure that the concealer matches your skin tone exactly. When applying body makeup, even the slightest variation between the makeup and your skin tone is just as obvious as the tattoo itself. If necessary, purchase several shades and mix to match your skin tone.

You can find specialty tattoo concealers in the cosmetic sections of large department stores. When purchasing in department stores, you have the added bonus of being able to test the product and receive recommendations from the cosmetic consultants. If you cannot find a tattoo concealer in your area, you can always search and order online.

Application

With body makeup, long-lasting coverage is vital. Many cream concealers and foundations will leave traces of makeup on your clothes—or worse, on other people’s clothes! The last thing you want after carefully disguising your tattoo is to have the makeup smudge or disappear, revealing your ink. Practice with your concealer ahead of time to make sure that it lives up to its promises.

For lasting results, you must first begin with clean and dry skin. Cleanse your skin as usual, and then use a toner to wipe away any traces of dirt, oil, and makeup. Rinse the area and pat dry. Next, follow the recommendations on the package of your product. Some products will require several layers, but others promise one-step application.

Use a clean, dry makeup sponge for a smooth application. First, apply the product to the area, then use the sponge to spread the concealer evenly. If you are applying several coats, allow each to dry completely. If possible, you might want to cover all exposed skin in the area for an even look. This works well for a facial or hand tattoo but won’t work as well if you are exposing a lot of skin. If you can’t or don’t want to cover all of your skin, make sure to blend the makeup carefully into the surrounding area.

When you are satisfied with the coverage, dust the area with translucent powder to set the makeup in place (some products come with a powder designed to work with that specific formula). Then, test your makeup job by gently wiping a cotton swab or piece of tissue across the surface, and hopefully, your makeup won’t smudge! Finally, check the coverage in several types of light: if you’ll be in bright light, you’ll need even heavier coverage than in dim lighting.

How to match my skin tone?

There are many products available that will cover up a tattoo; however, if you are in a pinch, you can use everyday cosmetics to conceal tattoos. All you need are a few items from your make-up bag for covering your ink in a hurry. If you have this most personal of artwork on your body in any visible place, it would be a good idea to carry these items with you at all times in case you need them.

Things you’ll need:

  • Concealer
  • Powder
  • Powder Brush
  • Foundation
  • Eyeshadow or blush that is close to your skin tone
  • Small cosmetic brush

Step 1

Apply concealer. If you happen to have two shades, use them both. Put on the lightest shade first, applying it as you would when covering up the dark circles underneath your eyes. Blend it well into the surrounding area. Repeat this using the darker concealer if you have some.

Step 2

Apply powder on the tattoos. Although a brush will work, a pad is much better. Press the pad firmly into the compact before dabbing evenly and gently across the concealer.

Step 3

Apply foundation. Once again, if you have a darker shade and a lighter one, use both. Put it on as you would on your face, using a light touch, applying the lighter shade first. You can always apply more but, if you put too much on, you’ll have to remove it all and start over with the concealer. Instead of using makeup sponges, as you would when applying theatrical makeup, use your fingertips to blend it in well. This gives you more control and better coverage. Do the same with the darker shade of foundation if you have it before repeating Step 2 and applying powder.

Step 4

Apply eyeshadow or blush. Choose a shade that is close to your skin tone. Use a small cosmetic brush to sweep it over the tattoos, dabbing in areas that seem harder to cover. Put it in light coats, building the coverage and color as needed. Make sure to blend it into the surrounding areas as you go. Repeat step 2 to seal it all in.

Tattoo Cover Up and makeup concealers that really work! Have a Tattoo that needs hiding? Blemishes, birth marks, scars or veins that you don’t want anyone to see? Don’t worry, they won’t see a flaw with our hypoallergenic cover up makeup that is easy to apply.

Brands such as Ben Nye, Mehron, Kryolan Derma Color & Bloody Mary makeup are perfect for concealing tattoos, bruises, stretch marks, blemishes & any number of things. Which ever brand tattoo cover you choose, we suggest you use a neutral set face powder to set the cover up and prevent it from smudging or rubbing off.

Used by makeup artists all over the world, this makeup expertly blends away
temporary and permanent imperfections, including tattoos, birthmarks and blemishes.

It is formulated to be highly pigmented for lasting and seamless coverage.

Method Makeup Academy, Sacramento’s Makeup School
History of Makeup: Ancient Greece

Image by nonbirinonko from Pixabay

To the Greeks and the Romans, physical beauty was sought by both men and women.  And they both subscribed to the ideal of beauty, the fair skin, bright lips and dark eyes.  To achieve this look, the Greeks used vermilion for rouge, as well as the juice from berries to stain their cheeks and lips. They used black incense to darken their lashes and painted their faces with white lead, false eyebrows, made of oxen hair, were also fashionable. In Greece, precious oils, perfumes, cosmetic powders, eye shadows, skin glosses, paints and hair dyes were in universal use. The exportation and sale of these items formed an important part of their trade.

The Romans used wine to stain their cheeks and painted their faces and arms with chalk to get that pallid look. Their lips they stained with red ochre and enhanced their eyes using a mixture of bear fat and lamp soot for eyeliner and mascara.  They used ground saffron on their eye lids for eye shadow. They used crocodile excrement for mud baths (yuck), barley flour and butter for pimples, and sheep fat and blood for nail polish (I think I much prefer today’s cosmetics, don’t you?). The Greeks used vermilion for rouge, as well as the juice from berries to stain their cheeks and lips. Black incense was used to darken the lashes.  Both cultures felt that eyebrows that met above the nose were the most ideal brows a woman or man could have.  Big difference from today!

In both cultures Men and women frequently dyed their hair blonde, but the dyes contained lye and were so caustic that many people lost their hair and had to wear wigs. In Rome, people put barley flour and butter on their pimples and sheep fat and blood on their fingernails for polish. 

With Goddess’ like Venus and Aphrodite, it is small wonder the Greek and Roman woman had such a high ideal of beauty and such a love for the artistry of cosmetics.

Many of the ingredients used during ancient times for cosmetics would be considered dangerous today.  White lead was used in eye shadow, eyeliner, and face foundation. It caused the skin to corrode, would poison the body and eventually lead to death. Many styles and forms of cosmetics were developed throughout the Middle Ages, the Renaissance Period, the Elizabethan Era, the Age of Extravagance (Baroque Period), and the Victorian Age.

Method Makeup Academy, Sacramento’s Makeup School

Step by Step Eye Shadow Looks – Lite Lid/Dark Crease

This look is one of my favorites. It’s great for small eyes, because it makes ANY  eye look larger. It uses the light colors of the lid to give a large doe-eyed appearance. It’s a simple, yet beautiful look.

  1. Base (Lite color across entire lid & up to eyebrow) * This is Step 1 for EVERY Eyeshadow Look.
  2. Apply Medium/Lite color to entire lid, do not bring it into the Crease.
  3. Apply Med/Dark Color into Crease – Pack but do not blend yet.
  4. Using a clean Blending Brush blend out the Med/Dark color in Crease and gently up onto Brow Bone.
  5. Apply Dark Color into Crease – Pack but do not blend yet.
  6. Using a clean blending brush blend out the Dark color in crease and gently up onto Brow Bone.
  7. Optional Step – If needed apply Highlight to inner Tear Duct and at Arch of Eyebrow.

Method Makeup Academy, Sacramento’s Makeup School
History of Makeup – 19th Century

Makeup in the 19th Century

Recommended Movies/Videos:

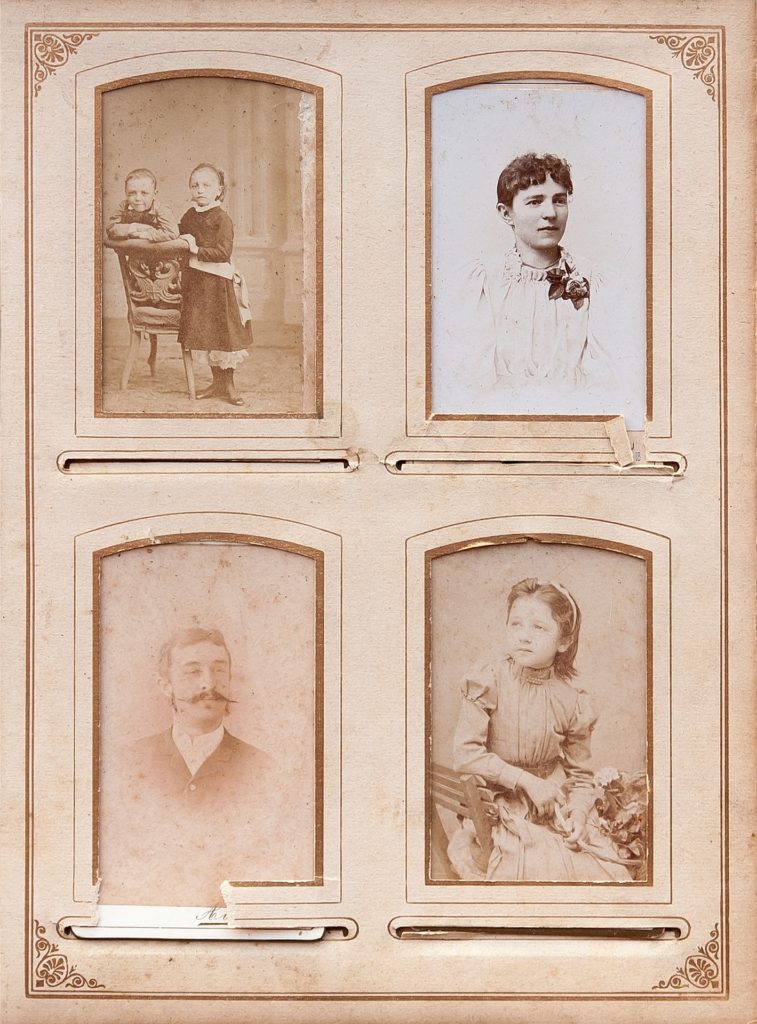
The use of cosmetics, once widely accepted by all classes, became viewed as vulgar, improper, and acceptable only for actors and prostitutes.  This was a view brought into public opinion by Queen Victoria of England.  Even Adolf Hitler made it clear that the use of cosmetics was not something a proper woman should do.  It was his opinion that face painting was for clowns, not for the women of the Master Race.  This rigid attitude was brought over the Atlantic to North America and women very rarely used cosmetics, at least not so that others would know.  Makeup became light, deceptive, cheek pinching and lip biting were ‘in’ to achieve color where once uses of lipsticks and rouge would have been.

Beauty was supposed to be the reflection of inner goodness, innocence, not artifice.  In America there was a definite distinction made between ‘paint’ and ‘cosmetics’ though the products in these two groups frequently were used to accomplish the same goals.  Cosmetics were used to ‘improve skin’ whereas Paint was to ‘mask’ skin.  Paints were associated with social climbers, prostitutes or those women who would trick a man into marriage.  The upper and middle classes in America also began to associate ‘paint’ with the working or lower class.  The use of paint was an artifice to hide one’s social standing.  In spite of this attitude, women were still quite familiar and adept at a wide variety of home recipes for paints and cosmetics.   Early cosmetics were usually made from home made recipes; some used lead, mercury or arsenic.  Unfortunately the uses of these toxic ingredients lead to illness, and in some cases, death. France developed and manufactured new chemical processes, replacing the natural methods. Zinc oxide became widely used as a facial powder, and is still in use today. Zinc oxide took the place of the deadly arsenic mixture. Zinc oxide becomes widely used as a facial powder, replacing the previously used deadly mixtures of lead and copper. One such mixture, Ceruse, made from white lead, was later discovered to be toxic and blamed for physical problems including facial tremors, muscle paralysis. Eye shadows and lip reddeners contained poisonous substances such as lead, antimony sulfide, and mercuric sulfide.

Belladonna, or deadly nightshade, was used to make one’s eyes sparkle. It was a deadly poison when used in large amounts. Women still used cosmetics, though they hid their uses carefully.  They used beeswax on their lashes to make them appear thicker, used kohl on their lashes to darken them.  For eyeliner women used burnt matches, when they cooled, they applied the ash to their lids.

Method Makeup Academy, Sacramento’s Makeup School