Base (Lite color across entire lid & up to eyebrow) * This is Step 1 for EVERY Eyeshadow
Look.
Apply a Med color on inner and outer corners of the eye
lid. Blend towards center of the eye leaving a space open in the center of
the eye over the pupil.
Blend a Med/Dark color up into crease and softly onto brow
bone.
Apply dark color into crease and blend up into the Med/Dark
brown to soft, leaving most of the dark in the deepest part of the crease.
Add a lite color or shimmer/glitter to the very center of
lid and softening slightly over the inner and outer edges of the lid.
Optional Step – If
needed apply Highlight to inner Tear Duct and at Arch of Eyebrow.
EXTREME
LIP ENLARGEMENT OR RECONSTRUCTION: (CAUTION: This does not look natural in
person, but will be fine for stage and some photo work)
Step 1: Using a Green Color Corrector
neutralize the whole lip area.
Step 2: Apply a cream based foundation with
a sponge.
Step 3: Set area with a neutral setting
powder.
Step 4: Use a Nude Lip Liner slightly
darker than their natural skin tone and draw the new shape of the lips you
desire. Make sure everything is filled
in in the middle.
Step 5: Using a cream based highlighter or
a white/cream lip pencil, highlight the new cupid’s bow.
Step 6: Using a cream based contour or a
neutral brown eyebrow pencil contour the underside of your new lower lip to
create a little bit of a ‘ledge’.
Step 7: At this point you can set it with a
neutral or colorless powder to matte it out because you are trying to recreate
the appearance of a real lip and not a false lip. NOTE:
Real lips have ridges so you are trying to create that illusion with the nude
lip liner.
Step 8: Take a lip liner that matches the
lip stick that you are wanting to use but it one shade darker. You are going to
line the along the edge of the nude fake lip has been made, you are going to
treat that as the outside of your lip
Step 9: Using a lip liner the exact color
of your lipstick that you want to be use it to liner the entire lip again and
fill in the center completely with the lip liner so you have created a false
labial roll with the nude and a false vermilion with the nude lip liner.
Step 10: After you have filled in the false
lip with the lip liner completely you are going to take a matte lipstick, no
shimmer, no shine,(Because light will attach to it and make it obvious that it
is a false lip. The light will show where
the natural ridges and curves to our lip are and draw attention away from the
false lip that you have created.) one shade DARKER than the ideal lip color
that you want. Apply to the outer edges
of your lip.
Step 11: Then using a lipstick that is the
perfect shade you will apply the lipstick over the entire lip area as though
the whole are is the real lip. (Again
this must be a MATTE lipstick. If you do
not have a matte lipstick, but you have a color you really want to use that has
a gloss or a shimmer to it, you can go over it with a matte eye shadow, or
blush of the same color to set it and matte it out.)
Step 12: Using a final lipstick one shade
lighter than the ideal lip color, apply it to the very center of the lips and
blending.
Not all eyes can
pull off a Full Cut Crease, so here is a good option for those with a smaller
eye or a drooped crease like me. Enjoy trying this look out.
Base (Lite color across entire lid & up to eyebrow) * This is Step 1 for EVERY Eyeshadow
Look.
Blend a Med/Dark color up into crease and softly onto brow
bone.
Apply dark color into crease and blend up into the Med/Dark
brown to soft, leaving most of the dark in the deepest part of the crease.
Cut your crease on inner lid only with concealer or eye
primer
Pack lite color (or shimmer or glitter) onto the inner half
of the eye lid.
Optional Step – If
needed apply Highlight to inner Tear Duct and at Arch of Eyebrow.
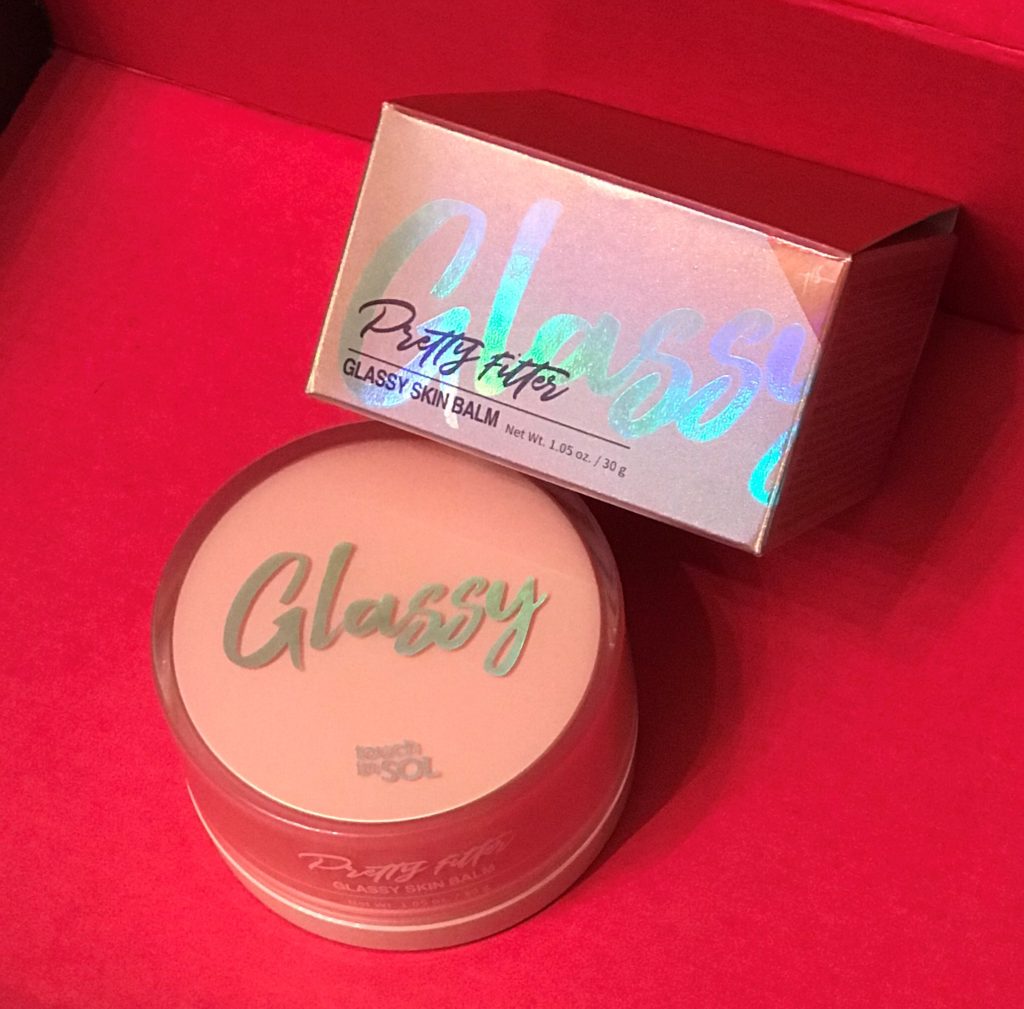
As a person who’s allergic to practically everything it was a real triumph to discover this wonderful skin balm. It’s a light weight, extremely moisturizing creamy product that makes my skin sigh with pleasure every morning. I’m pretty low-key when it comes to a skin care regime, focused mostly on keeping my skin clean and well hydrated. Now that I’m beginning my 4th decade it’s all about hydration for me and this little gem was quite the find. The ingredients are soothing and gentle on my skin, which is extremely sensitive and like I said before I’m allergic to the WORLD. But not to this creamy pink moisturizer. Since I’ve begun using it each day before applying my makeup my skin feels smoother, more hydrated and refreshed. I honestly look forward to applying it each day. The scent alone is a pleasing, light citrus that is brightening to my mood while I pamper my skin. I definitely think that Touch in Sol’s Pretty Fitter Classy Skin Balm is worth the price of $32. A little bit goes a long way and hydrates the driest skin, leaving you with a gorgeous glow.
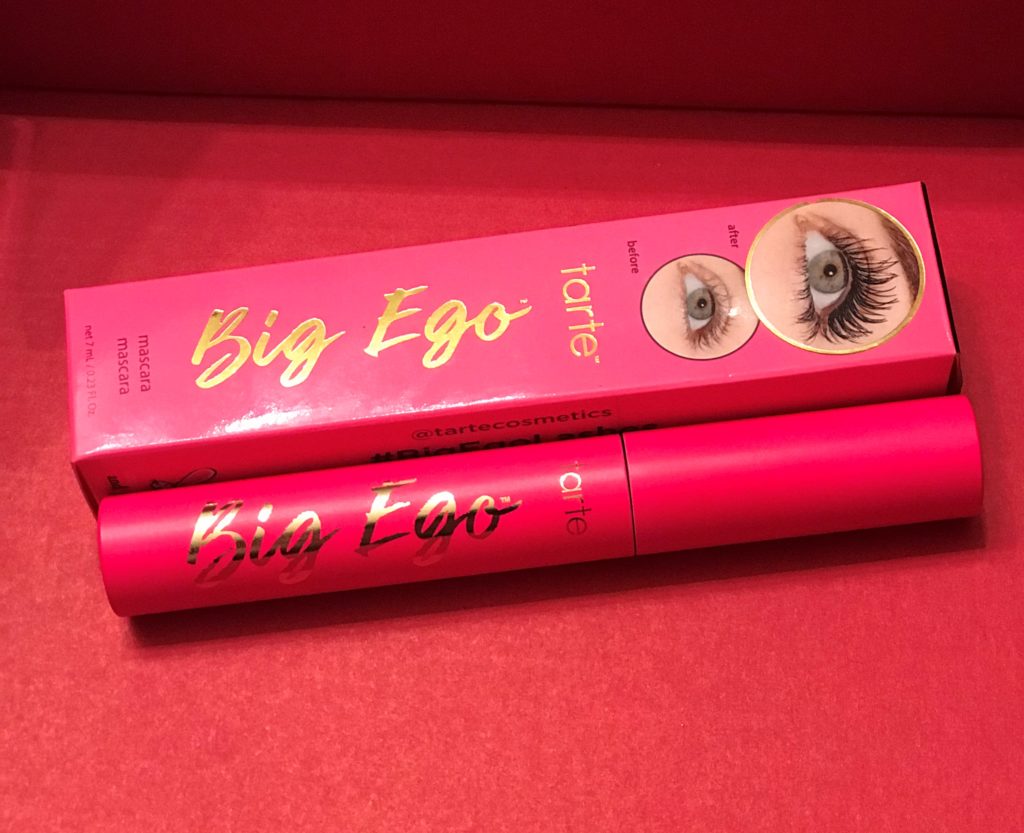
I’m not much of a makeup wearer, I don’t wear foundation
daily, or even eyeshadow, but what I DO wear EVERYDAY of my life is Mascara. My
natural lashes are a medium brown with platinum blond tips so they never look
very long until I apply a few coats of mascara. I’ve tried many brands over the
years, many different formulas that have promised fullness, length, etc. I’m
picky with my mascara, I don’t want something that cakes onto my lashes leaving
them a clumpy mess. I like a mascara that defines and lengthens, one that doesn’t
flake and leave dark circles under my eyes. Recently I discovered Tarte’s Big
Ego Mascara. I’ve got to say I’m really liking it. The formula doesn’t flake,
is a dark black and wears ALL day. The wand applicator coats each lash adding
length AND volume making my lashes look thick and fabulous. Most importantly –
to me – it DOESN’T goop up. It comes in a pretty pink tube and while the price
tag is on the steeper side ($23) it wears well, it’s Vegan and comes with a
good amount of product so you won’t be replacing it all the time, so the price –
in my humble opinion – is well worth it.
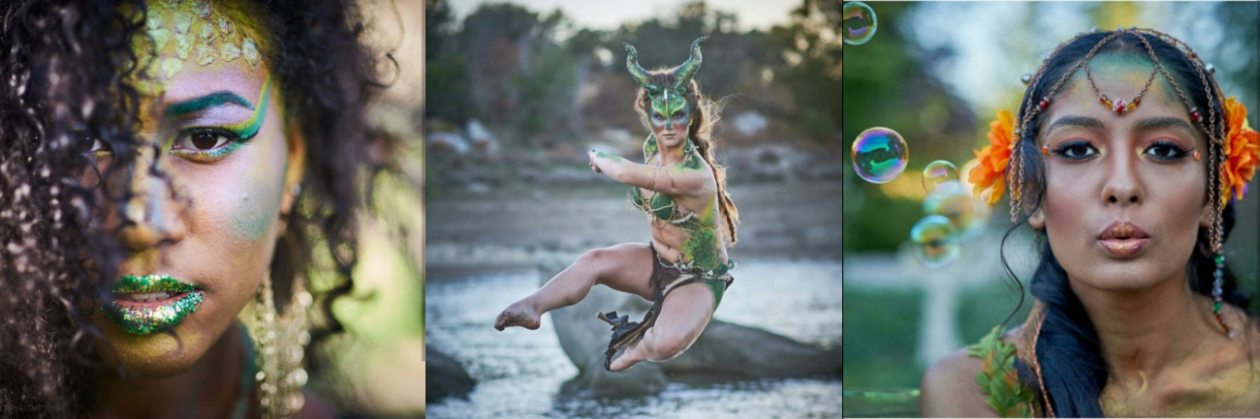
Longer nights, darker shades, the year deepens and becomes
more romantic, more mysterious. The
light colors of summer deepen, growing richer as the year comes to it’s
close. Fall Fashion embodies a richer
look, a look made famous long ago by the Mod, dark smoky eyes, nude lip and
flawless skin. Colors darken, leaving
behind the bright pinks and peaches of the summer lines. Deep plums, warm browns, cool charcoals and
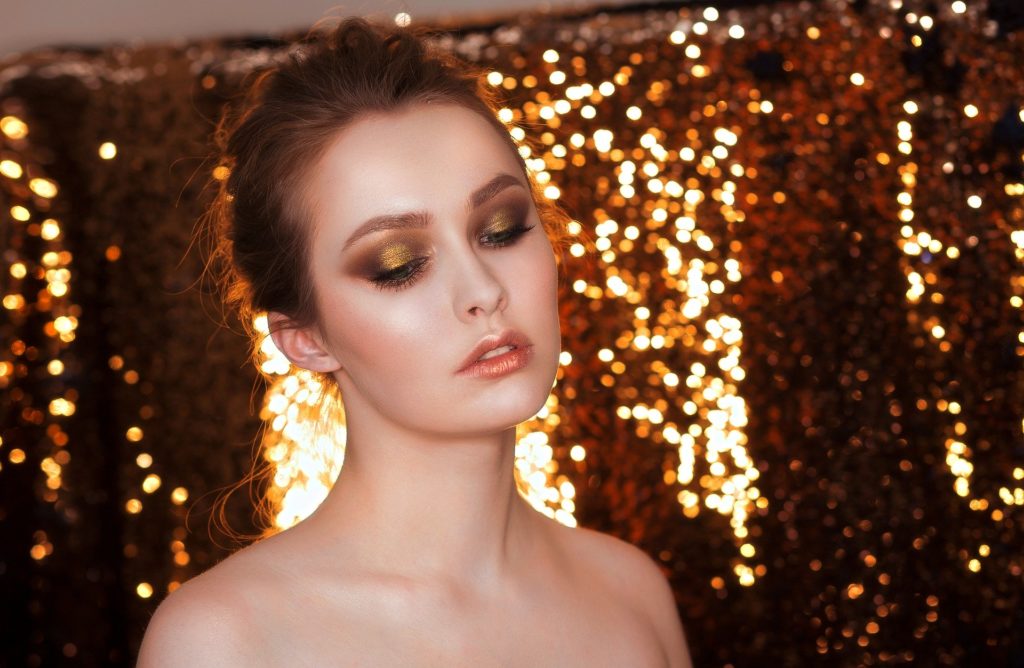
vibrant gold come to life. Chanel and
Dior are advancing new lines where gold reigns supreme. This year the Modern Mod will reign, her
eyes, smoky shades of gray and gold, her lips a soft neutral, her skin smooth
and flawless.
Smoky eyes with well blended lines, thick smoked out
liner. Use colors that compliment you,
charcoal or black, olive green, plum or chocolate brown. Highlight your brow bone and lid with a
shimmer of VIP-CAT’s White on Gold eye shadow.
Then fill the crease with a dark shade of your choosing and blend well.
Blend is your friend, always blending up and out, giving contour and
depth.
The
desired look this fall for lashes is an almost fake appearance, thick and
lustrous, thick with black mascara. What
better way to achieve that look then by having your lashes professionally
extended by a trained stylist at Image Provocateur? Properly applied Lash Extensions will give
your eye that thick lustrous fringe and last through fall and into winter with
proper care.
Your
brows should be properly arched an almost ingénue look, a simple almost natural
look like Audrey Hepburn, or if you like the dramatic arch, think Marilyn
Monroe. Proper tweezing or waxing can
achieve the desired shape.
Light
blushing on cheeks and easing contouring over flawless foundation and powder
can be used for a neutral look. The
original Mod of the 1960’s chose pale skin and lips, her eyes standing out in
an almost waif like pale face. However
the modern Mod wants a more neutral look, natural toned skin, so light blush
and contouring will achieve this for you.
Your
lips should be a shade quite similar to your own natural lip color, something
simple and neutral, not quite nude, but not made up. However, if you desire color, the simple red
lip is a lifetime classic and will turn an easy day look into a dramatic
evening look.
Long
live the modern Mod, her of the smoky eye and thick lash.
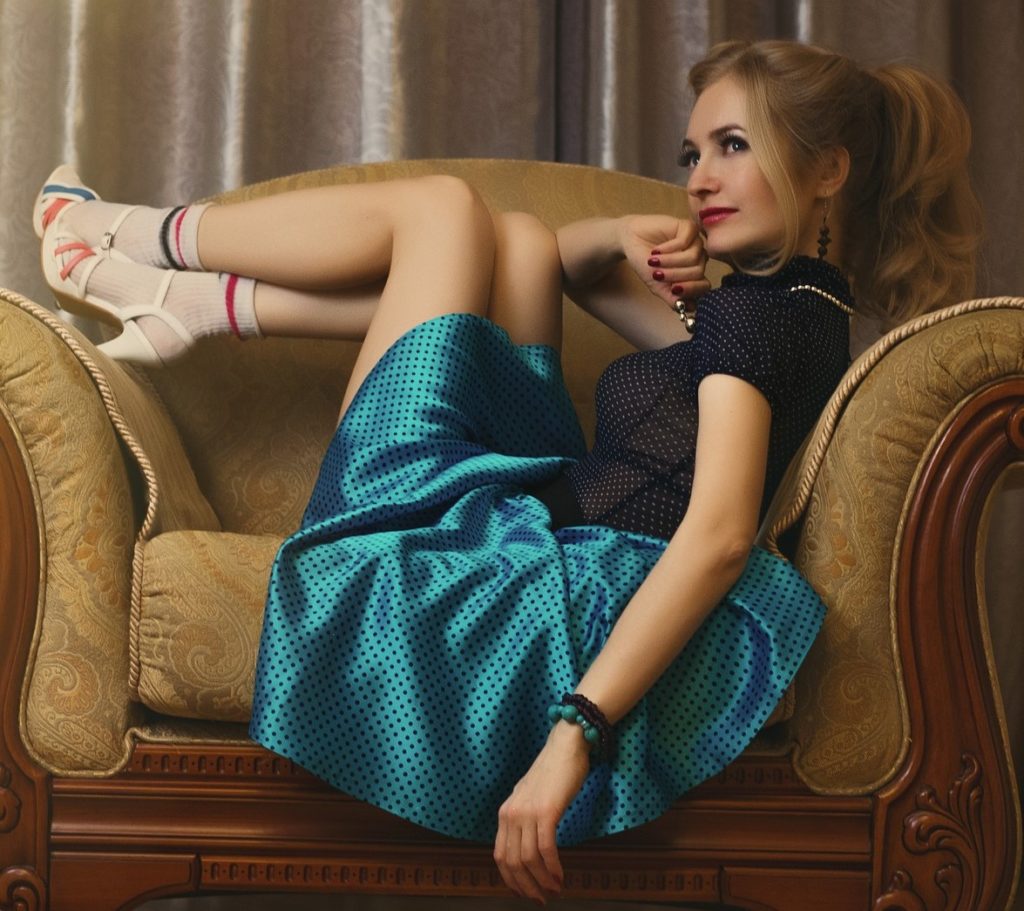
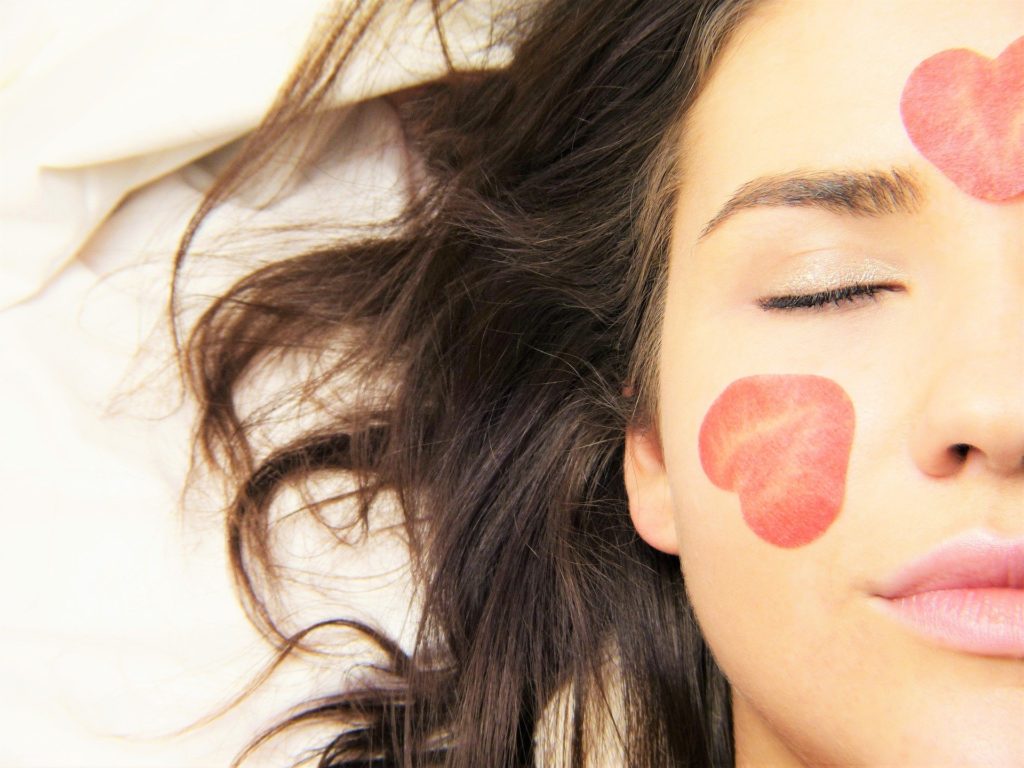
The
Modern Mod, the Diva rules the night and by day the Sweet Romantic is the
queen. Her skin glows, flawless, her
cheeks flushed, her lips rosy like they’ve just been kissed. This flawless romantic look starts with
smooth foundation, pressed powder and light, rosy blush on cheeks. Her eyes are contoured softly with a neutral
golden brown in the crease, blended out to give depth and warmth. A soft shimmer of White on Gold on the lid
and brown bone gives a warm glow to her eyes.
A little White on Gold along the top of the cheek bone and down the
bridge of the nose will add a nice sparkle to your skin and is a wonderful
highlighter for the contour process as well.
Lashes
are natural, brows nicely arched to frame the eyes. The lips are a brighter shade of your own
natural lip tone, a color that inspires that full lipped, just kissed look, and
for added plumping a dab of White on Gold in the very center of the bottom lip
will do nicely.
By day a glowing, soft romantic, by night a Modern Diva. You can be all these things with the right makeup. It’s time to experiment and play.
The winter months give our skin a beating. The endless dehydration of
heaters, the bad food and alcohol throughout the holidays. November through
January we neglect our skin. With holiday stress and heater dryness our skin
gets abused. Its time to counter this damage.
Step one: water. Drink lots of water. It will re-hydrate your body from the
inside out. It will also push out those toxins left in your system by Christmas
cookies and New Year’s champagne.
Step Two: add more fruits and vegetables to your diet. The nutrients in
these items will revitalize the skin, again starting from the inside out.
Step Three: A good cleanser is essential. You need to be careful not to get
a cleanser with alcohol in it, as this will only further add to the dryness of
your skin. Even if you are prone to acne, cleansers that dry you should be
avoided.
White heads or pimples are caused by bacteria building up inside the pores. For
a gentle cleanser that won’t break the budget I recommend Cetapil.
Step Four: Exfoliate. The Japanese Wash Cloth is the best and safest form of
manual exfoliation and is essential to proper skin care.
This specially woven nylon cloth stimulates the blood flow into the surface
of the skin. It gently removes dead skin, black heads, reduces roughness and
dryness and gives you healthier, younger looking skin.
And last but not least of its wonderful attributes, also by stimulating
blood flow helps to diminish the cellulite in problem areas… not only does this
magical cloth exfoliate you like no other and give you buttery smooth skin, it
helps rid you of cellulite.
For Acneic skin, aged skin, dry skin, oily skin, cellulite, all become
vastly improved with this simple, essential item. The Japanese Wash Cloth
should be in every woman’s shower.
Step Five: hydrate. For those of you with dry skin, coconut oil is the way
to go. It’s a rich all natural moisturizer.
We all have beautiful skin, sometimes we just need help uncovering it.
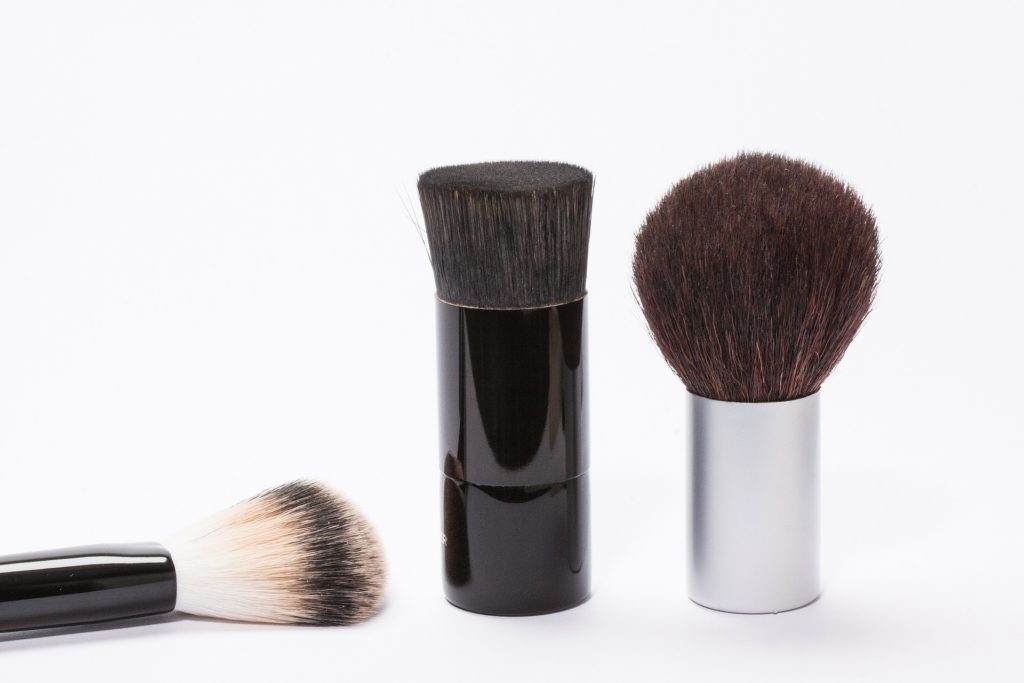
OK, if you’re like me you somehow purchased a Kabuki brush. Either
with a mineral makeup purchase, or just because someone told you it was the
next best thing. You may or may not use it. If you’re like me you
never have and don’t think you ever will. However before you decide to
chuck it or donate it, here’s a fantastic new use for it. It actually
makes owning the damn thing worth it!
It makes one hell of an exfoliant for your face. It’s true. It’s
almost as good as a Japanese
Wash Cloth. Yes, I said Almost. Japanese Wash Cloth is
still the best, but the Kabuki brush is a good substitute if you haven’t yet
purchased your Japanese Wash Cloth.
The Kabuki Brush works as an exfoliant because it’s silky bristles buff away
the dead skin without damaging your pores. It also works as a stimulant,
bringing the blood to the surface which will help your skin stay smooth and clear
for days.
So, if you have a Kabuki brush just lying there on your vanity, don’t toss it away, use it to give yourself that clean, clear skin you’ve been dying for!