This wasn’t how we expected 2020 to go. I’m sure I’m not alone in that sentiment. For many of you 2020 has been a year of hardships, the loss of jobs, a struggle with finances and for many, the loss of loved ones. As we enter another long month, the future still unknown, many of us have a hard time looking past all the negative changes that have plagued our lives. It’s hard to see anything but the negative, the uncertainty and fear in a world struggling with conflict and more a political and societal unrest that is terrifying to all of us. We don’t know what the future holds, so it’s hard to see the bright side. It’s hard to see the beauty.
I struggle every day to look for the good, the positive. In a normal year I would be firmly entrenched in my bridal season, experiencing the brightest, most exciting day in countless lives of woman as they enter a new chapter with the person who makes them feel complete. This year has a very different perspective. Most of my brides have been forced to reschedule to 2021, while a small handful have met the challenges thrown at them by 2020 and our current pandemic and embraced the idea of mini-monies (miniature ceremonies).
The first mini-mony I participated in was a very surreal experience. I still wasn’t used to working in masks and gloves, and it was strange to be around people wearing masks like I was while I worked. No hand shaking, no happy hugs at the end. But what I learned from Kimberly, was that even during these hard times you can find ways to celebrate. She and her love turned their home into their venue with only her parents and his in attendance, all in full masks. Her wedding dress couldn’t be finished in time because the dress shop was closed, but instead of losing her joy, she chose another dress that she loved. She was full of energy and joy and excited to be joining her life to the man of her dreams. What Kimberly taught me that day was that you can find light even in the darkest of times.
This past Saturday I saw how a creative and flexible bride can have the full bridal experience even while in quarantine. While I worked on her hair and makeup, again in full mask, gloves and outside in fresh air, her bridal party joined her via Zoom. All six women were there on her computer screen, watching the process, sharing in the moment – while wearing their special bridesmaid robes and sipping champagne – so that she wasn’t alone on a day when having your tribe around you means so much. She was able to have the full bride experience, even though they were miles apart. Her wedding ceremony had zero physical attendants and yet was watched by all her friends and family during a live stream.
So, even though 2020 has not gone as planned, there are so many ways to be creative, so many ways to have an experience you will never forget. So many ways to connect with your loved ones and in the end still be able to say ‘I do’.
So, to all the brides who are embracing mini-monies…Thanks for finding the color and joy while the world is so gray. And for the rest of my brides, I’ll be seeing you in 2021!
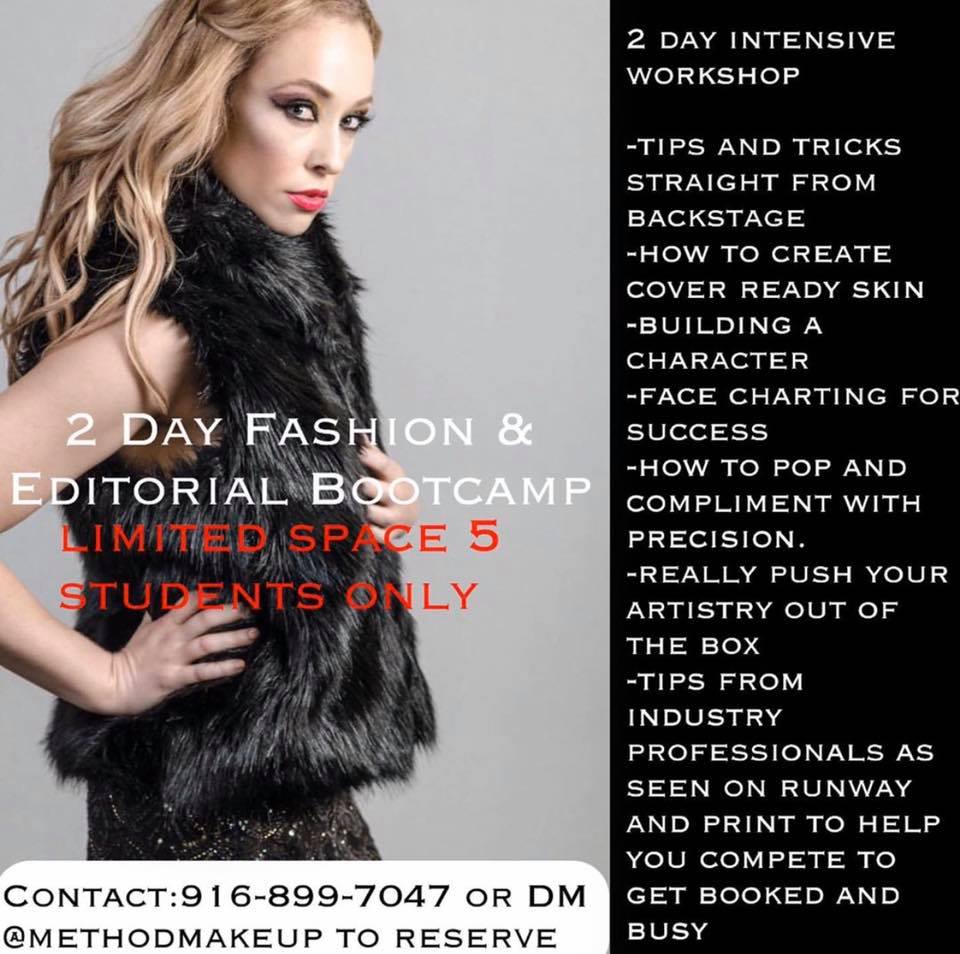
Method Makeup Academy, Sacramento’s Makeup School