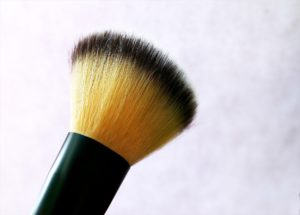
 One question everyone seems to ask is: What kind of Brush Cleaner should I use for my makeup brushes? It’s a legitimate question. I mean you could spend a fortune trying all the ones out there on the market.
There are definitely good cleaners out there on the market, cleaners that will remove the makeup, sanitize and condition your brushes without ruining them. But then there are others that have a high level of Isopropyl Alcohol in them which can ruin any brush by drying out the cuticles and causing them to fray.
MAC Cosmetics has a decent one, though it doesn’t dry as quickly as they promise and even Sephora’s Daily Brush Cleaner is good. But if I had to choose one out of all of them it would be Cinema Secrets Professional Brush Cleaner. It’s blue and smells like yellow cake, breaks down makeup & oils like magic and conditions your brushes at the same time. Simply love this stuff!
None of these brushes however are quick dry, so use sparingly when cleaning your brushes on the job.
Now, if you are on a tight budget and even $13 (Cinema Secrets Professional Brush Cleaner 4oz Bottle is $13) seems like a little too much to spend, you can get your brushes sparkly clean and conditioned for pennies with a little product I like to call Dawn Dish Soap.
Yes, you heard me right! Dawn Dish Soap is a miracle cleaner. Its gentle formula will quickly break down the oils in the brush without stripping them and ruining them. Works great with synthetic as well as natural hair brushes.
If you’re using the Dawn Dish Soap method you can give your natural hair brushes a nice deep conditioning treatment by using your hair conditioner. I know, sounds funny to hear me telling you to use dish soap and hair conditioner but it’s true. They work great for those of us on a more restrained budget.
Well I hope this gives you some food for thought and an idea of what you should be using to clean your makeup brushes.
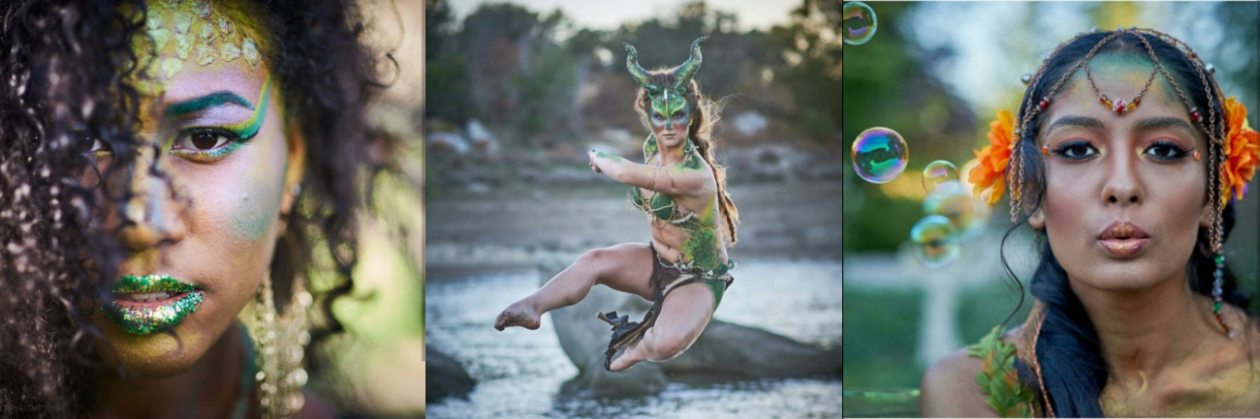
Method Makeup Academy, Sacramento’s Makeup School
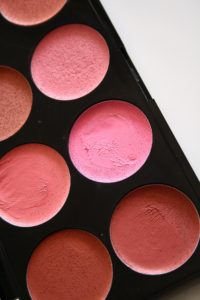 So, the questions are, how much, where & what color. Yep, that pretty much describes how most of us feel about blush. Well, here’s a few pointers that might help.
 Does your black eye shadow always seem to look gray or worse blue-ish on you every time you apply it? You love that smoky eyed look that everyone else seems to always be able to rock, but the black is just not your friend?
 So, you’re getting enough sleep and still you have dark circles under your eyes and on your eye lids? It’s frustrating, makes you look like you’re always tired and it makes you feel old. So what do you do?
 Tired of the morning lag? Tired of downing cups of coffee, which, in spite of it’s great taste, has some rather unpleasant side effects? First, it can make you jittery and wired, can give you a gross crash when it wears off. It is very addicting, ask any coffee drinker what happens on the morning they skip their daily dose. Headaches that will make you want to weep!
 What you need:
 Black Liquid Eye Liner –
  empty.