We’ve all done it. We’ve stood in the cosmetics department of Rite Aid, Walmart, Target, even MAC and Estee Lauder and searched for that right color of foundation. We’ve even asked for help and still we’ve gotten home to find it’s just not right.
So frustrating, so annoying and so damn expensive!
What is a girl to do? Well, first off, trying to match ourselves in florescent lighting at a Walmart is never easy. And second most of us are matching the wrong part of our body!
At makeup counters you tend to test foundation colors on your hand. Big mistake. Your hands tend to get more exposure to the sun and to the elements than our faces do. So they are not the same color as our face, or our neck or our décolletage. So how on earth would the color that matches the back of your hand match your face? But it’s not like we were ever taught how to really get the right match, right? RIGHT???? (Damn hippy mom who never wore makeup!)
So, then we do the time tested holding it up to our cheek test only to get home and find we have become a floating head. God I hate floating heads! Or worse we find that nasty line of demarcation. That thing will kill the best makeup in a heartbeat.
So the answer?
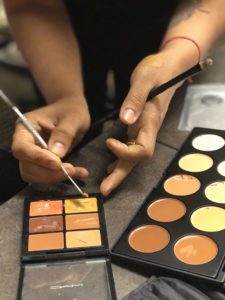
The best place to match your skin is your collarbone, first because your face, chest and neck all tend to be a little bit different from each other. 2nd you won’t be comparing color to sun damage that can develop on your chest. So if you are matching your collarbone and blending your foundation nicely from your hair line, down your neck and feathering to a finish at your collar bone you will end up, most of the time, with perfectly matched foundation.
One more bit of foundation advice: The color you use in the winter is not going to be the color you use in the summer, so don’t feel bad about having two colors on hand. You can use the two either by themselves or by combining them to create your own custom color match, no matter what time of the year it is.
Well I hope this helps. Have fun out there shopping.
Method Makeup Academy, Sacramento’s Makeup School
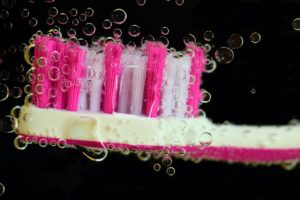 White Teeth Tips
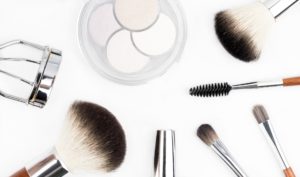
 One of the main contributors to healthy winter skin is proper hydration. Not just in what goes onto the skin, but also what goes inside.
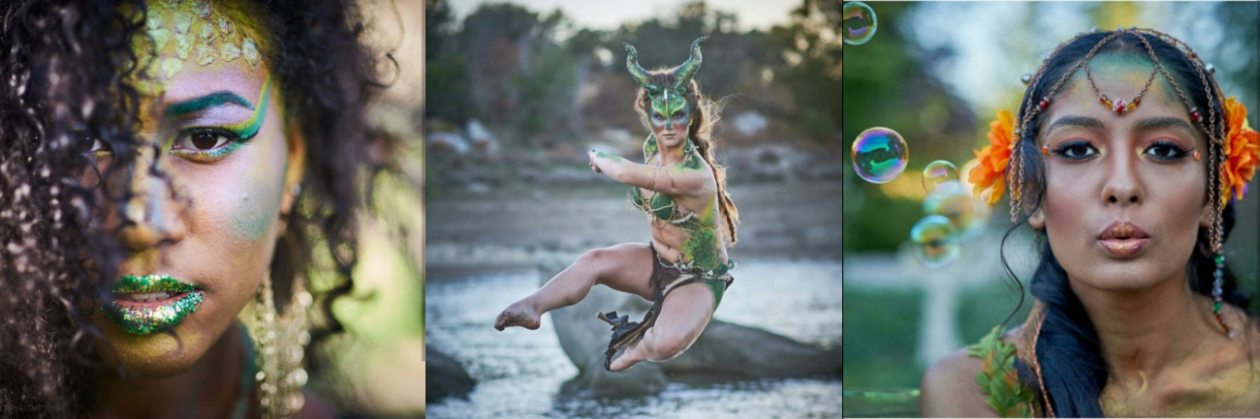
 Halloween is a day that gets mixed reviews. Its a day when some believe the spirits roam the earth, a day for fun and frolic and for some, fear. Whatever your personal belief there is definitely something about this one day of the year that intrigues and inspires the world.
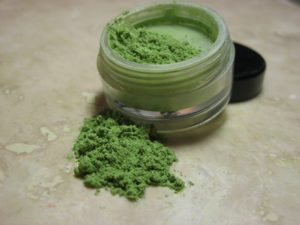 So, you’ve finally decided to try loose pigments, the rainbow of bright colors have cast their siren song over you and you finally bought them. Now there you stand in front of your mirror with those pretty colors and have no idea how to use them!
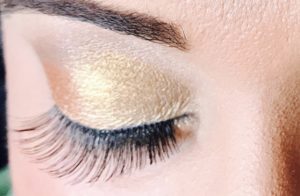 False lashes are a fun addition to any makeup. Here are just a few tips to help you get the long lashes you want and not an eye full of glue!
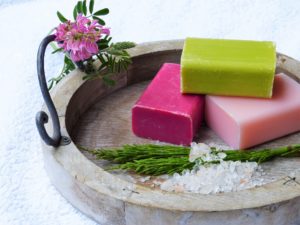 It may seem silly, an article about how to properly clean your face. I mean really? Isn’t this something we learned when we were toddlers? Well yes and no.
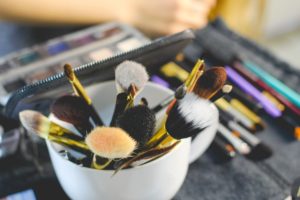 Not all good makeup is expensive makeup. Some of the best products out there can be found at your local drug store. It’s true some pieces are worth the extra cost, but why pay more when the best items are right there under your nose?
 I think the coolest thing about makeup is the freedom it gives us to get creative. It allows us to change our moods just by the application of some lipstick or a different shade of shadow. I also love how flexible makeup itself is. Each item can be used for multiple things, which makes it great in this day and age when budget is a big factor in what we get to buy.